When I was in college I pinched every penny.
(Some things never change! ha!)While working full time to pay for tuition,
I learned tricks that would save cash,
time and I loved when I could work off campus.
I was a commuter. Those mid-winter-late-night
treks back to the dark, cold campus studios
were dreadful!
COLORLESS BLENDER
A tutorial from last year when I made gift tags
Packaging tape was A LOT less cash than
clear acetate pages and black & white copies!
(A package of ten acetate pages was almost $20...
Some things do go down in price through the years)For our fun today~
Black and white photocopy, package tape & water.
Place a piece of packaging tape over your image...

Burnish the tape to the paper and image...


Trim!

Soak in warm water...

You can begin to see the image through the wet paper...

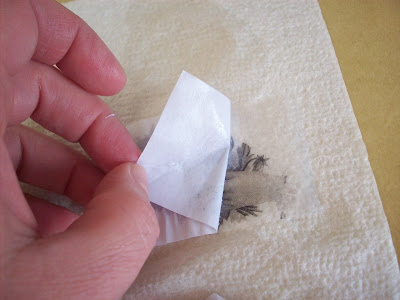
Rub the paper off the back...

The clear image begins to appear!

Sweet!

Another example...
This time we will soak the image longer...

Ahhhh... the back paper easily peels away!

The tape is still tacky around the edges...

I placed it on this VERY old book.
The paper fibers are open and fragile...
Pressing softly where the tape is still tacky...
Then gently lifting it off.
Pulls some of the type and paper
around the edges.

Use caution when setting these down where surfaces
are fragile, old... the tacky areas will stick and lift designs.
I use inexpensive packaging tapes because the
transfers are thin and light...
Better quality tapes are a bit thicker.
When using less expensive brands, try to let
the paper soak longer because the tape
is less durable & can tear easily.

I would love to see how you use this idea!
So many possibilities... so little time~
Hope your weekend is wonderful!


